搭建属于自己的博客
自从学习前端一来, 一直想自己搭建一个独立的博客, 也纠结过是否直接使用第三方博客平台, 但是每次看到网页上面的广告就无法忍受, 所以想来想去还是决定用自己搭建的, 刚好自己是学前端的, 好像没有搭建过博客就说不过去,虽然网上面的教程有很多, 但是还是想自己记录一下学习过程, 下面就开始吧。
开发环境(windows)
安装 Node.js 和 Git
直接到官网下载安装即可 NodeJS
Git 也可以直接在官网去下载
安装Hexo
安装完node.js和git之后,即可以通过npm安装hexo了, 打开git bash,键入以下命令
1
npm install -g hexo-cli
安装完成后可以通过 hexo -v 查看 hexo 版本信息
初始化
安装 Hexo 完成后,请执行下列命令,Hexo 将会在指定文件夹中新建所需要的文件
1
2
3
hexo init <folder>
cd <folder>
npm install
初始化完成后,你会在该文件夹下得到如下的目录结构:
1
2
3
4
5
6
7
8
.
├── _config.yml
├── package.json
├── scaffolds
├── public
├── source
| └── _posts
└── themes
本地启动
执行命令 hexo s
成功启动则会看到反馈信息
[info] Hexo is running at http://localhost:4000/. Press Ctrl+C to stop.
此时端口4000被打开,打开浏览器,输入上面所示网址
出现了默认的主题界面,心情是不是有点小激动呢~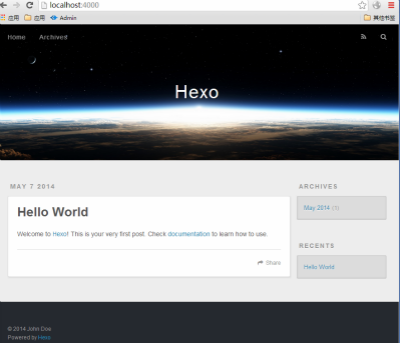
到此为止hexo的初始化已经完成,接下来就是相关配置。
博客配置
博客的基本配置都在 _config.yml 文件中打开该文件我们可以看到,在其中我们可以对网站显示的相关个人信息进行修改以及主题的使用的等。1
2
3
4
5
6
7
8
9
10
11
12
13
14
15
16
17
18
19
20
21
22
23
24
25
26
27
28
29
30
31
32
33
34
35
36
37
38
39
40
41
42
43
44
45
46
47
48
49
50
51
52
53
54
55
56
57
58
59
60
61
62
63
64
65
66
67
68
69
70
71
72
73
74
75
76
77
78
79
80
81
82
83
84
85
86
87
88
89
90
91# Hexo Configuration
## Docs: https://hexo.io/docs/configuration.html
## Source: https://github.com/hexojs/hexo/
# Site
title: 静默如初 #博客名
subtitle: The Greatness is Achieved through Diligence and Retarded by Laziness. #副标题
description: 努力中的前端开发工程师
keywords: #关键字
author: Carol #作者
language: zh-CN #语言
timezone: #时区,此处不填写,hexo会以你目前电脑的时区为默认值
# URL
## If your site is put in a subdirectory, set url as 'http://yoursite.com/child' and root as '/child/'
url: http://www.luo01.cn #域名
root: /
permalink: :year/:month/:day/:title/
permalink_defaults:
# Directory 暂不配置,使用默认值
source_dir: source
public_dir: public
tag_dir: tags
archive_dir: archives
category_dir: categories
code_dir: downloads/code
i18n_dir: :lang
skip_render:
# Writing 文章布局等,使用默认值
new_post_name: :title.md # File name of new posts
default_layout: post
titlecase: false # Transform title into titlecase
external_link: true # Open external links in new tab
filename_case: 0
render_drafts: false
post_asset_folder: true
relative_link: false
future: true
highlight:
enable: true #高亮
line_number: true
auto_detect: true
tab_replace:
# 数学公式
mathjax: true
# Home page setting
# path: Root path for your blogs index page. (default = '')
# per_page: Posts displayed per page. (0 = disable pagination)
# order_by: Posts order. (Order by date descending by default)
index_generator:
path: ''
per_page: 10
order_by: -date
# 本地搜索
search:
path: search.xml
field: post
# Category & Tag
default_category: uncategorized
category_map:
tag_map:
# Date / Time format 时间格式
## Hexo uses Moment.js to parse and display date
## You can customize the date format as defined in
## http://momentjs.com/docs/#/displaying/format/
date_format: YYYY-MM-DD
time_format: HH:mm:ss
# Pagination
## Set per_page to 0 to disable pagination
per_page: 10 #每页显示的文章数,0表示不分页
pagination_dir: page
# Extensions 插件配置
## Plugins: https://hexo.io/plugins/
## Themes: https://hexo.io/themes/
theme: maupassant #使用的主题
# Deployment 用于部署到github
## Docs: https://hexo.io/docs/deployment.html
deploy:
type: git
repository: git@github.com:XiaoLuo01/XiaoLuo01.github.io.git
branch: master
创建新文章
执行命令 hexo n “我的第一篇博文”
系统会自动在_post 目录下生成文件 “我的第一篇博文.md”
之后用编辑器编辑md文件就好啦!(要用markdown语法编辑哦~)
markdown的语法可以参考 http://ibruce.info/2013/11/26/markdown/ 以及一些搜索到的教程。
hexo的其他指令
下面只写一些常用命令及部分简写1
2
3
4
5hexo n == hexo new 新建文件
hexo g == hexo generate 生成静态文件
hexo s == hexo server 启动服务器
heox d == hexo deploy 部署网站
hexo list 列出网站资料
同时,hexo还支持复合命令,如 hexo d -g 意为 先静态化处理,再部署
详细指令说明可参阅 https://hexo.io/zh-cn/docs/commands.html
发布到github
静态化处理
执行命令 hexo g
在此说明一下静态化处理的目的,由于我们用hexo所搭建的这个博客,是静态网站,即只有html,css和javascript,无法动态更新。静态化处理即生成只有html、css和javascript的网站。
部署到github
- 注册github帐号
- 建立一个仓库,名为
[your_user_name.github.io]这里必须要注意的是: 一定要以自己的github名命名 - 添加SSH公钥到 [Account settings -> SSH Keys -> Add SSH Key]
- 有了github帐号之后, 编辑配置文件_config.yml,在deploy部分,设置github的项目地址
1 | deploy: |
- 添加SSH
首先设置用户名和密码:
1 | git config --global user.email "example@163.com" |
然后生成密钥:1
ssh-keygen -t rsa -C "example@163.com"
上述命令如果成功,会在根目录下的.ssh文件夹内生成id_rsa和 id_rsa.pub两个文件
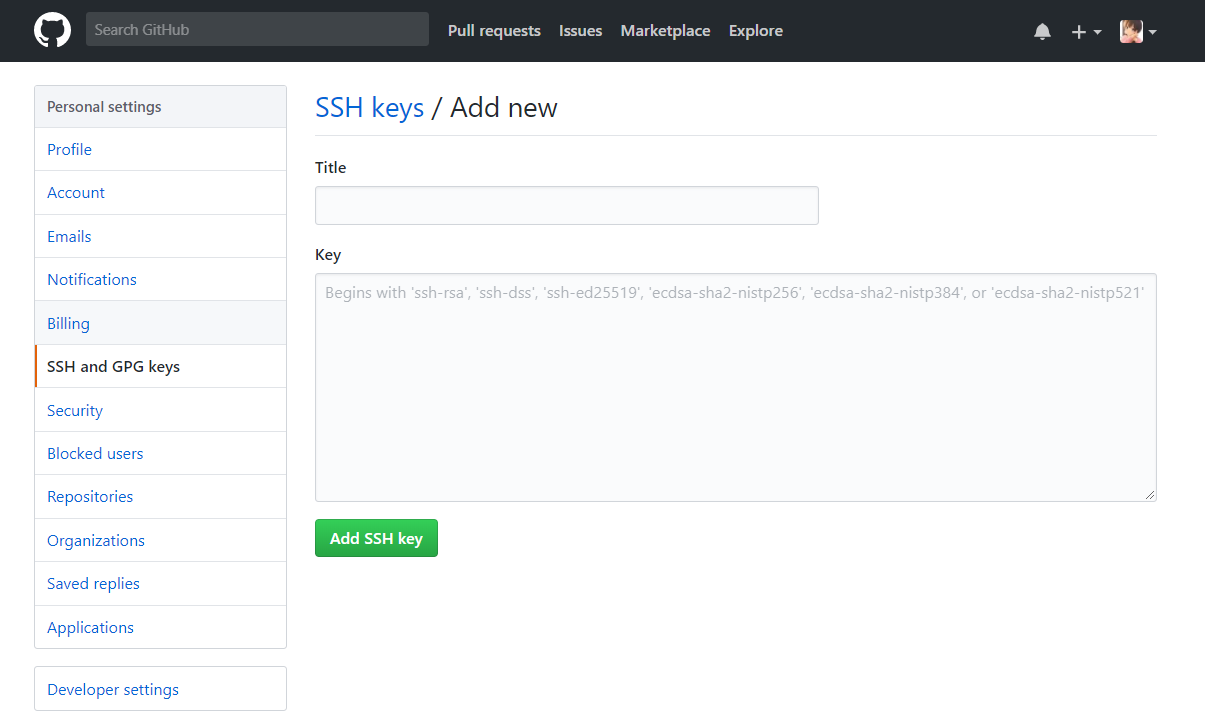
打开id_rsa.pub文件,复制里面的内容添加到 Add SSH Key
然后执行命令 hexo d
若没问题的话会提示你输入帐号密码,之后就部署成功了,可以在github查看,点击仓库上侧的setting, 这页面中可以看到
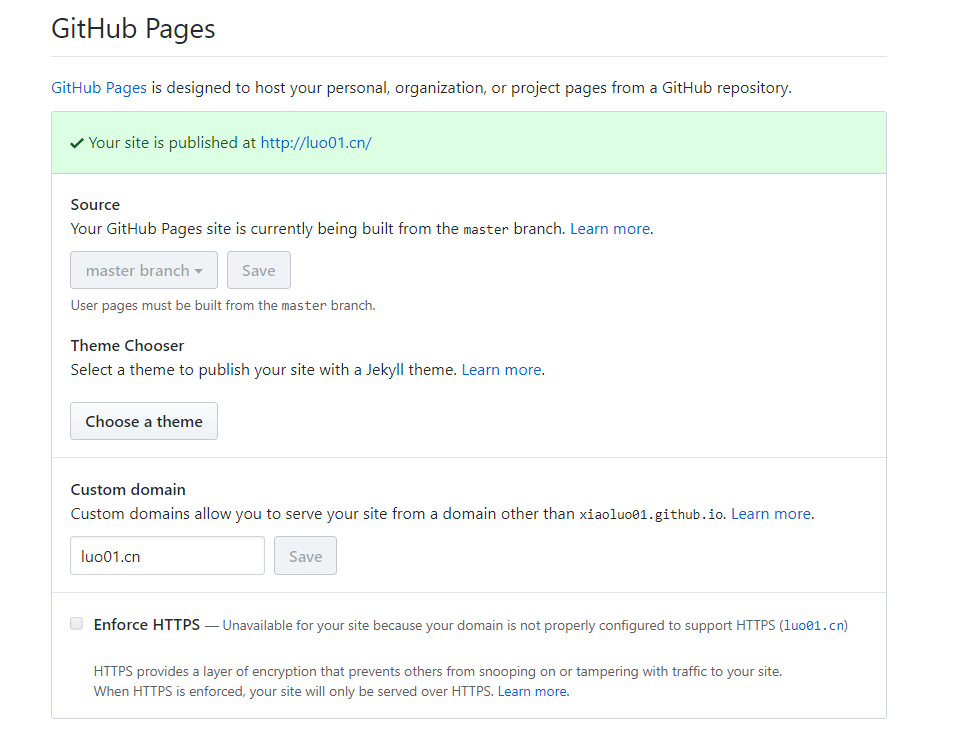
这里还需要注意的是: source需要设置为master分支
在执行hexo deploy命令时,可能会提示找不到git, 解决方法:
在Hexo 3.0版本后deploy git 被分开的,所以需要安装,安装命令如下:npm install hexo-deployer-git –save,安装好后再尝试一下就ok
绑定域名
如果对于github默认分配的二级域名example.github.io满意的话,就用这个也是可以的。如果不太满意,可以购买一个域名,博主是从阿里云购买的.cn 域名。
设置域名有两种方式:
- 主域名绑定: 如example.com
- 子域名绑定:如blog.example.com
主域名绑定
- 在source根目录下新建文件 CNAME ,无后缀,纯文本文件,内容为要绑定的域名
example.com,如果要使用 www.example.com的形式,文件内容改为www.example.com - DNS设置
- 主机记录@,类型A,记录值192.30.252.153
- 主机记录www,类型A,记录值192.30.252.153
- 参考 https://help.github.com/articles/tips-for-configuring-an-a-record-with-your-dns-provider
子域名绑定
- 比如使用域名example.com的子域名blog.example.com CNAME 文件内容为blog.example.com
- DNS设置
- 主机记录blog,类型CNAME,记录值example.github.io
- 参考https://help.github.com/articles/tips-for-configuring-a-cname-record-with-your-dns-provider
更换主题
https://github.com/hexojs/hexo/wiki/Themes
可以从这上面挑选一个自己喜欢的主题, 比如我觉得next还不错,
进入github的项目地址后, 复制项目地址, 在themes目录下,执行命令git clone https://github.com/iissnan/hexo-theme-next.git
完成后会在theme目录下生成hexo-theme-next主题文件夹
打开 _config.yml 配置文件,找到 theme 选项
将默认的 theme: landscape 更换为 theme: hexo-theme-next
此时,启动服务器 hexo s 可查看效果,之后便可静态化然后部署到github上即可。
http://theme-next.iissnan.com/这是next主题的说明,可参照此修改默认配置。
其他主题也可借鉴说明
配置插件
至于插件有很多,可以按照自己的喜好配置插件,下面只给出几个教程的连接,需要的同学自行配置就好。
http://www.tuicool.com/articles/AfQnQjy
还有一些插件是主题自带的,注意就好。
后记
到此, 博客就已经搭建完毕啦~
虽然搭建博客的过程中遇到很多问题,但是博客成功搭建之后,心里真是觉得很满足。
希望想搭建博客的同学能在这篇文章中得到帮助。
